(all affiliate and non-affiliate links can be found at the bottom of this post)
This room has come a long way since it was purchased 4 years ago. At the time, board and batten was all the craze and we happily jumped on the bandwagon. Board and batten hasn’t gone out of style, but a lot of other accent walls have come to the forefront.
We were not willing to pry out this board and batten that was only a few years old, so we decided so add something that would make it a little more special.
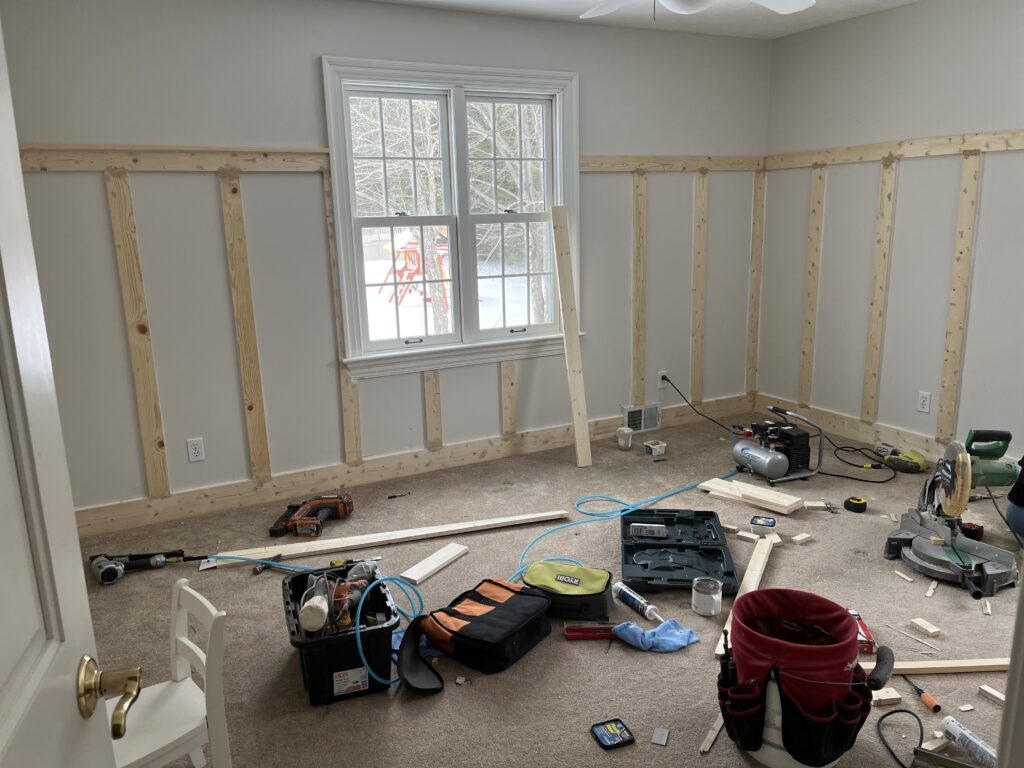
This was the room when it was purchased. It was far from feminine! So we quickly added the board and batten.
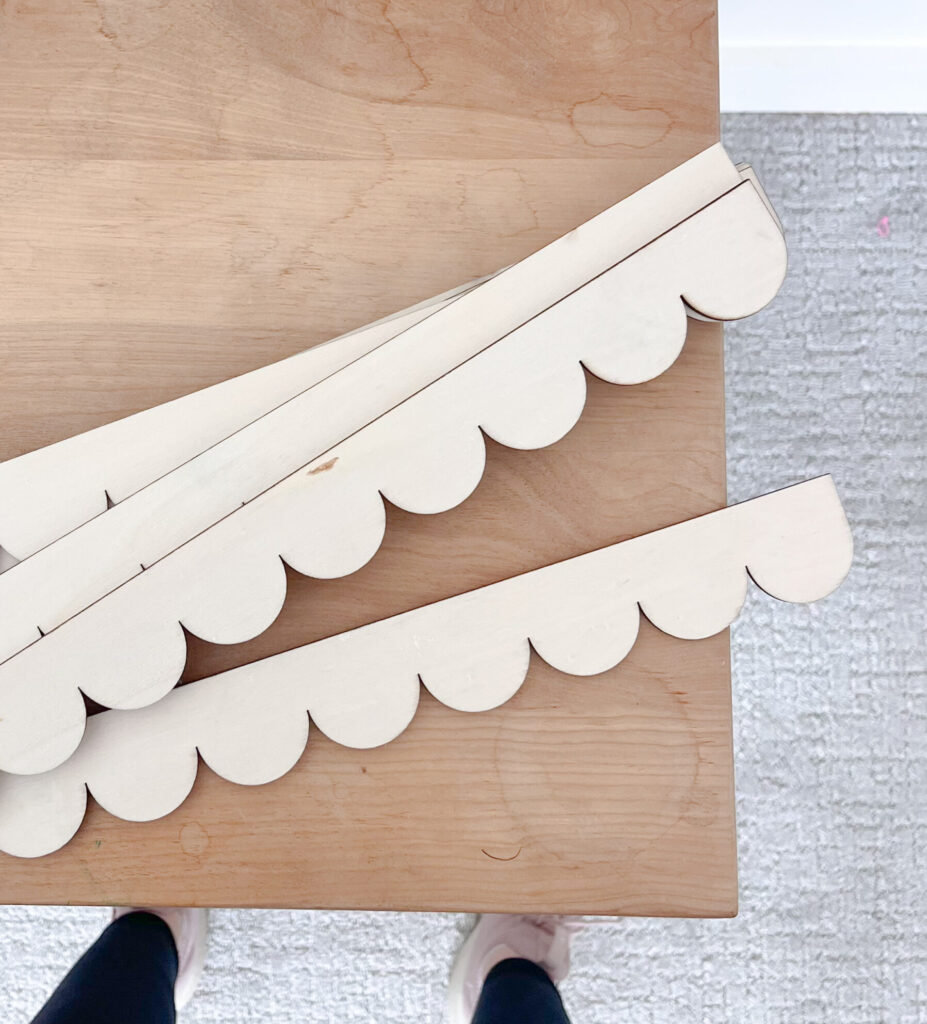
The board and batten walls were done a few years ago and limited photos were taken…. But it came out pretty good for a quick project and made a huge difference in the room. But, we wanted to add some more character to the walls…. as you saw in the first picture, the scalloped trim is just thin wooden pieces purchased from Amazon. We decided to add it to the underside of the ledge at the top of the board and batten.
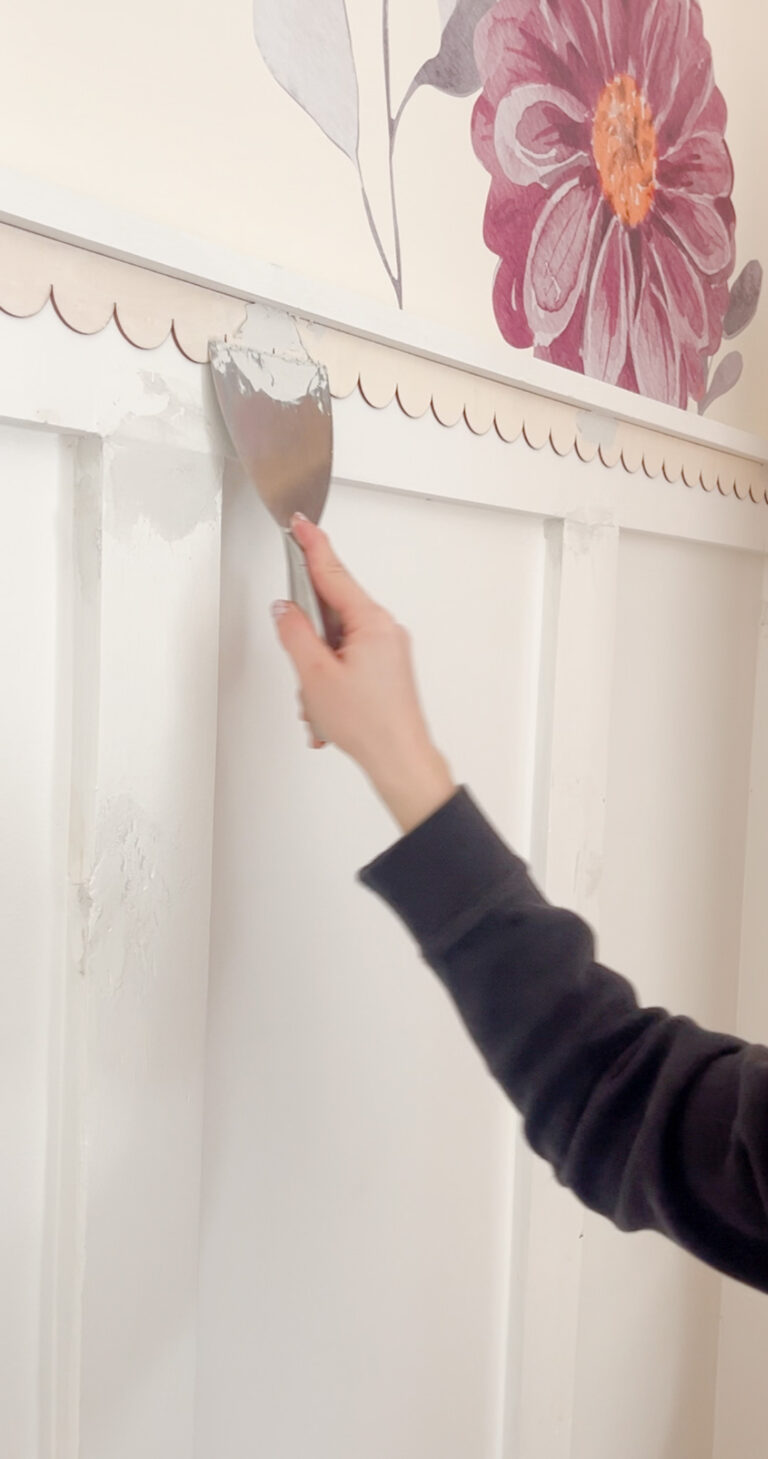
Once everything was nailed (we have an air compressor and trim nailer), we filled the gaps with wood filler. For this part we first used a 100 grit sandpaper to rough up around the area where the trim met. Then we used wood filler that fanned out at least an inch on either side of the seam. Once it was dried we came back in with a 220 grit sandpaper to smooth the wood filler out. Since these trim pieces aren’t very long there were a good amount of seams to fill, so this was a process.
We also used the wood filler to patch up some of the cracking that took place over the past couple years.
When the wood filler was dried and sanded, and before we started to prime we also took caulk along the top edge of the trim to make it look seamless.
Over all, with drying time, it was a 2 day process to nail the trim, sand, wood fill and caulk. next we needed to prime the wood. One thing I will say I might have done differently is pre-primed the trim before attaching it to the wall. The painting was a bit of a lengthy process as the paint tended to gather in the crevices of the scallops and had to be completely smoothed out between each coat of paint so we could avoid drip lines. Also, the bottom of the scallops was clearly visible and was also a process to paint. Placing the trim pieces on a piece of cardboard and then spraying/painting them first would have been the easier option. BTW, the paint is a basic super white trim paint, nothing special.
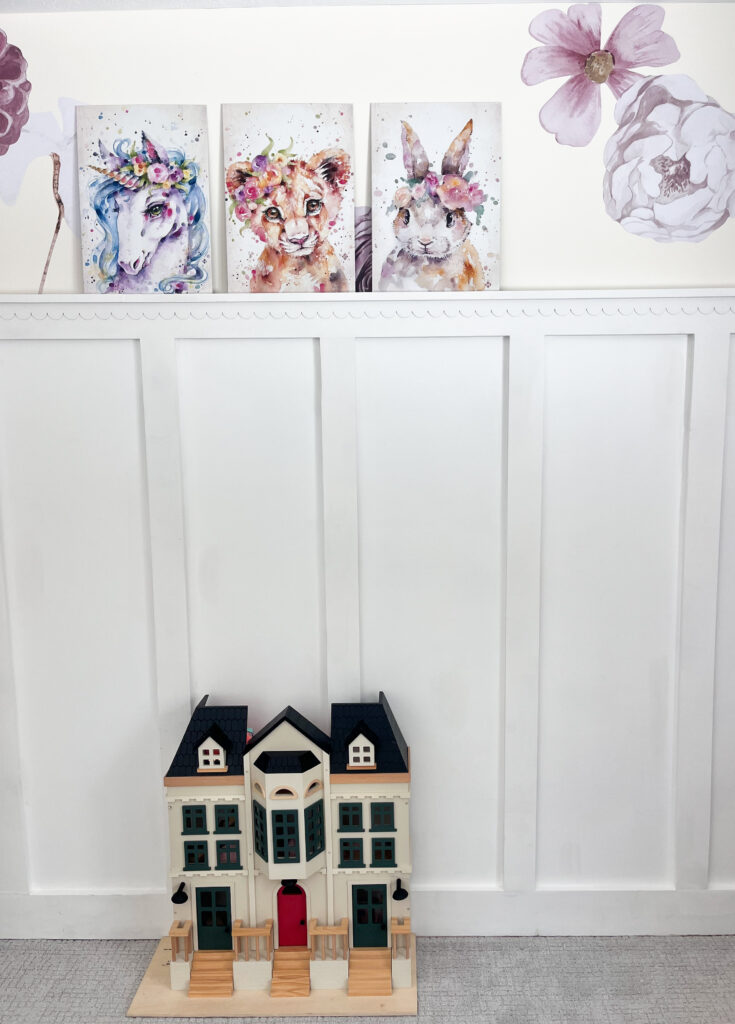
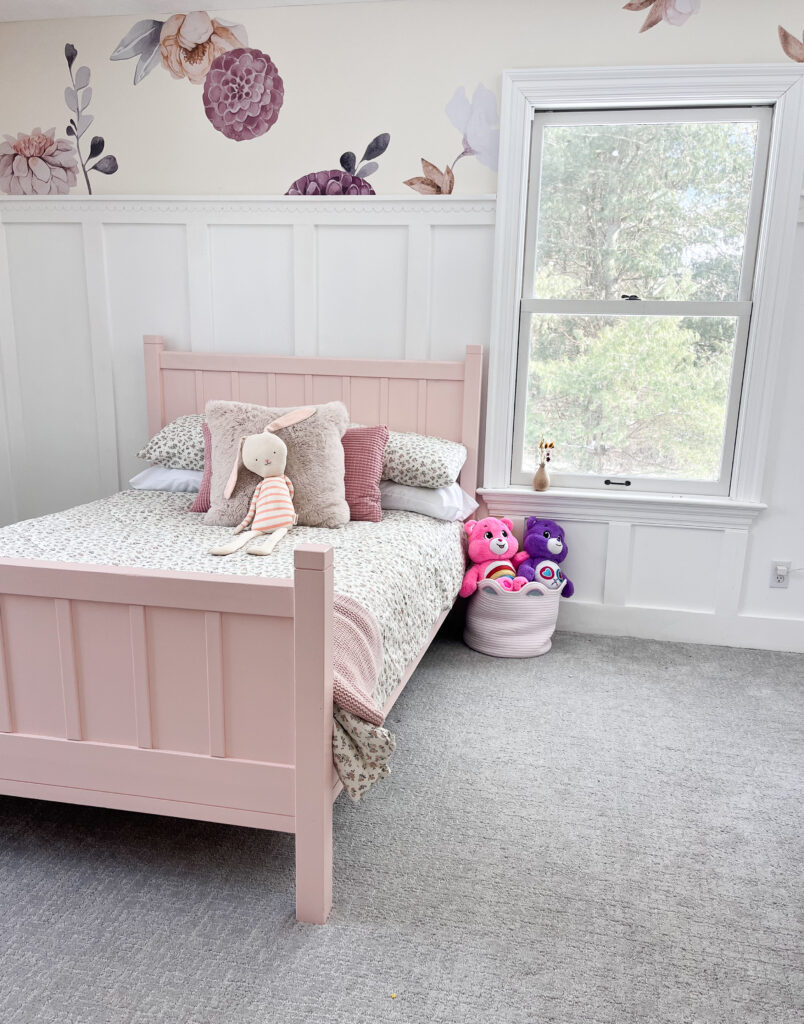
Okay one coat of prime and two coats of paint. It came out better then I was expecting!
I hope you are feeling inspired! It was so easy and not expensive, which can be hard to find! If you like any part of this bedroom and are wondering where I got any of the things (decals, bedspread, toys, artwork) you can find them linked below.